|
File
No.:

Title:
Location of the Battle of
Hastings in 1066
Investigation made at: Hastings
Battlefield, Battle Abbey,
Battle, district of Rother,
East Sussex, England, United
Kingdom
(50°54'44.0"N 0°29'19.6"E)
Period Covered:
14OCT1066
Date: 6SEP2023
Case
Classification:
Location of Historic Events
Status
of Case:
Open Case
|
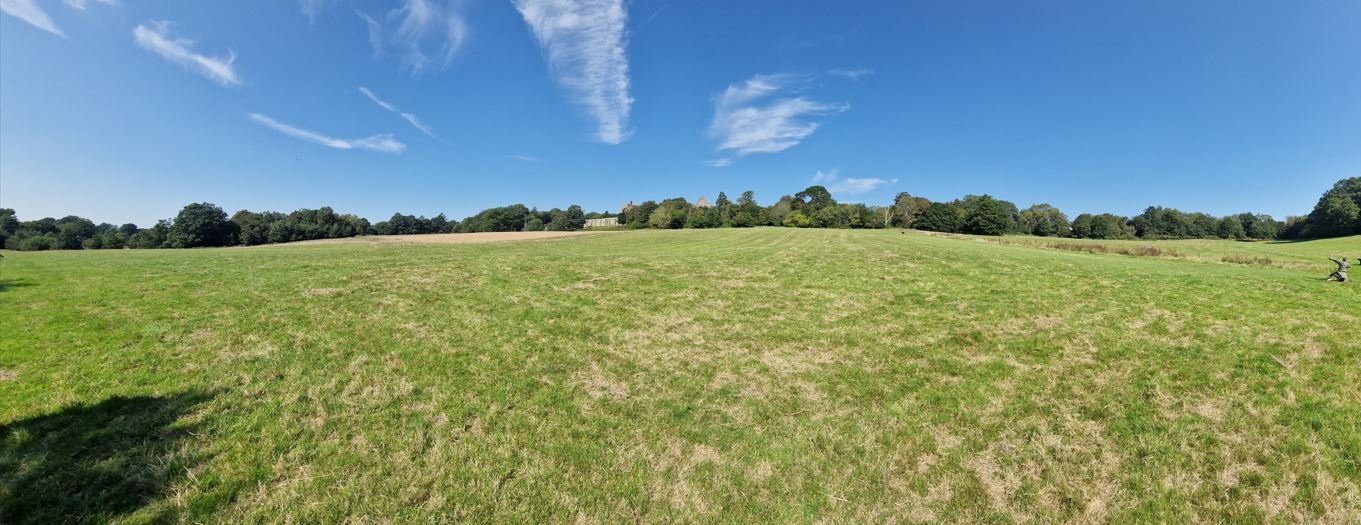
(click to enlarge)
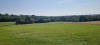
Path at Battle Abbey on Senlac Hill
following the Anglo-Saxon shield
wall with the center of the
battlefield in center background |
REASON FOR INVESTIGATION
The Battle of the Hastings
in 1066 is one of the best known
battles in Western Europe.
SYNOPSIS: |
|
Background
The motivation for the battle
was in fact a succession dispute
in England after King Edward's
death on 5JAN1066. The king left
no clear heir and the Englishman
Harold Godwinson and the Norman
William the Conqueror laid claim
to the throne of England.
Harold Godwinson was the richest
and most powerful of the English
aristocrats and son of Godwin,
King Edward's earlier opponent.
Harold was elected king by the
Witenagemot council of England
and crowned by the Archbishop of
York.
William on the other hand
claimed that he had been
promised the throne by King
Edward and that Harold had sworn
agreement to this. |
Date and time of the battle
Some of the few undisputed facts
about the Battle of Hastings are
that it took place on Saturday
14OCT1066, that fighting began
at 0900 and that the battle
lasted until dusk. The sun rose
at 0648 that morning and the sun
set at 1654, with the
battlefield mostly dark by 1754
and in full darkness by 1824.
Moonrise that night was not
until 2312, so once the sun set
there was hardly any light on
the battlefield.
Tactics and dispositions
Harold's forces deployed in a
small, dense formation at the
top of a steep slope with their
flanks protected by woods and
marshy ground in front of them.
The English formed a shield
wall, with the front ranks
holding their shields close
together or even overlapping to
provide protection from attack.
Sources differ on the exact site
that the English fought on: some
sources state the site of the
abbey, but some newer sources
suggest it was Caldbec Hill.
The Norman deployment is better
known. Duke William appears to
have arranged his forces in
three groups, or "battles",
which roughly corresponded to
their origins. The left units
were the Bretons, along with
those from Anjou, Poitou and
Maine. The center was held by
the Normans under Duke William.
The final division, on the
right, consisted of the
Frenchmen, along with some men
from Picardy, Boulogne, and
Flanders.
The front lines were made up of
archers, with a line of foot
soldiers armed with spears
behind. The cavalry was held in
reserve and a small group of
clergymen and servants situated
at the base of Telham Hill was
not expected to take part in the
fighting. |
|
(click to
enlarge)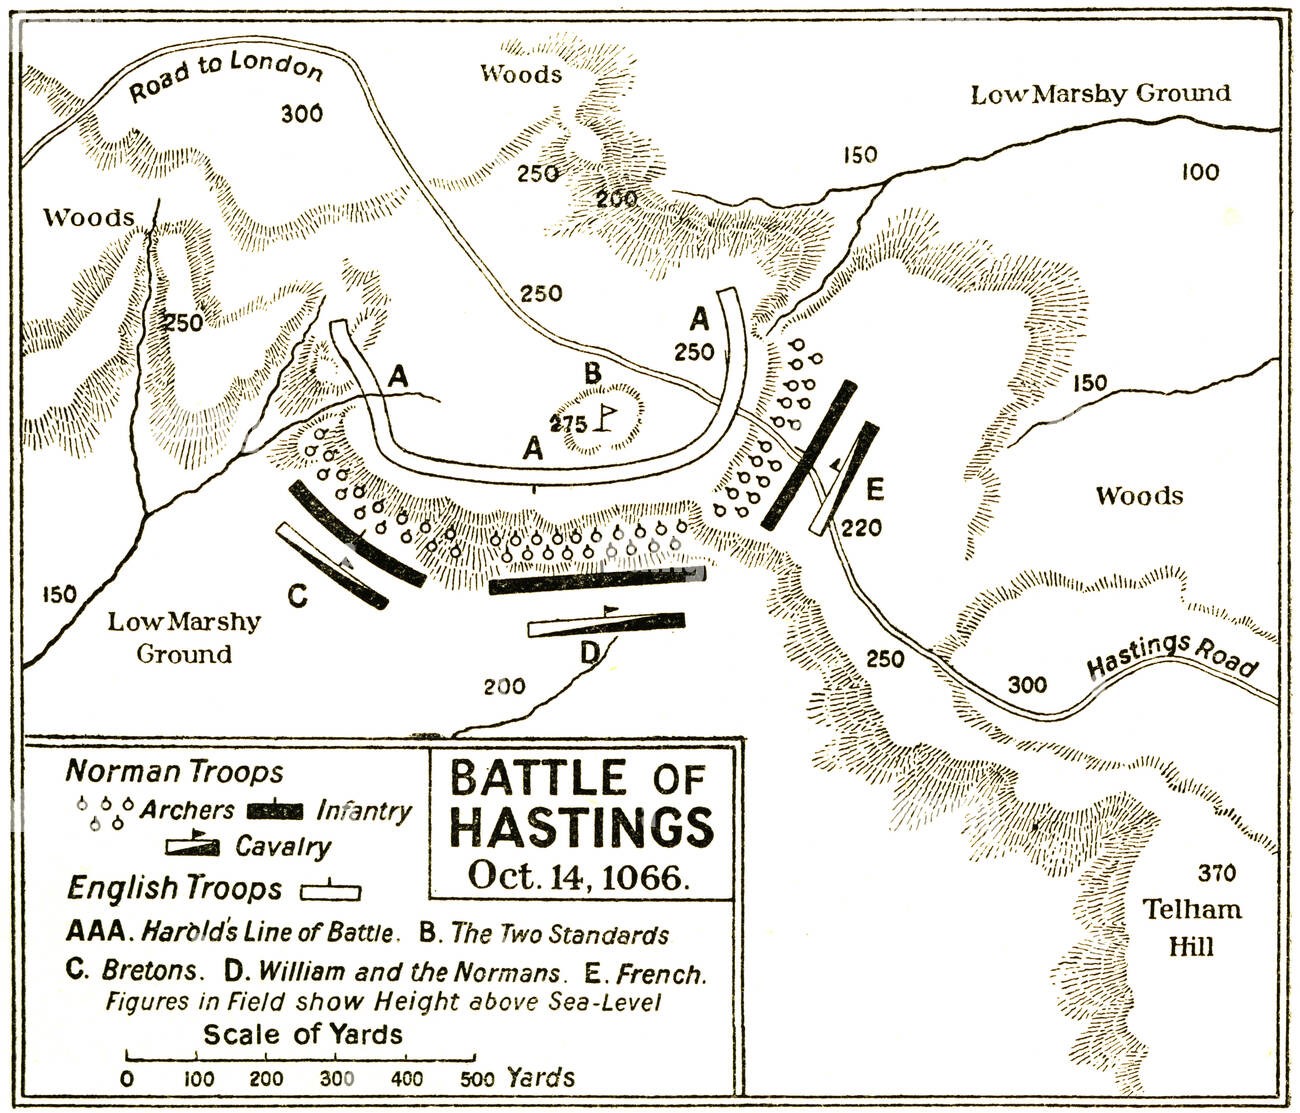
The "classic"
order of battle and dispositions
of the Norman and English
armies. |
William's disposition of his
forces suggests that he planned
to open the battle with archers
in the front rank weakening the
enemy with arrows, followed by
infantry who would engage in
close combat. The infantry would
create openings in the English
lines that could be exploited
with cavalry charges breaking
through the English forces and
pursue the retreating soldiers.
The Normans made use of a tactic
named "feigned retreat", a
strategy which tricked the
English troops into breaking
down their protective formation
and heading after the
"retreating" soldiers. Having
opened themselves to attack,
they were then cut down.
|
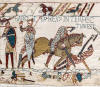
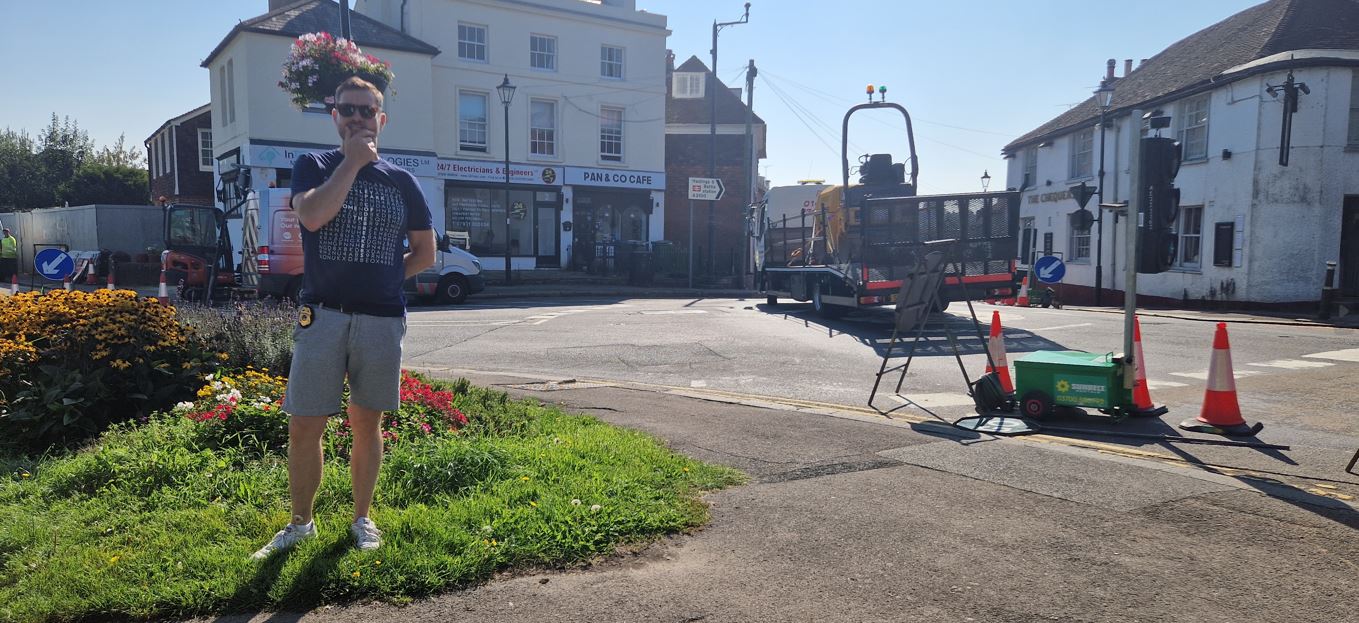
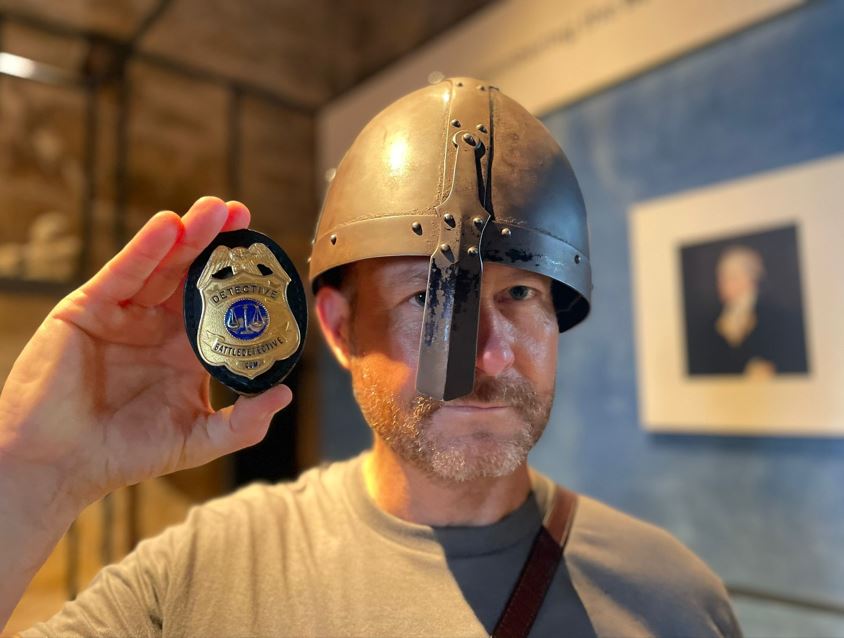
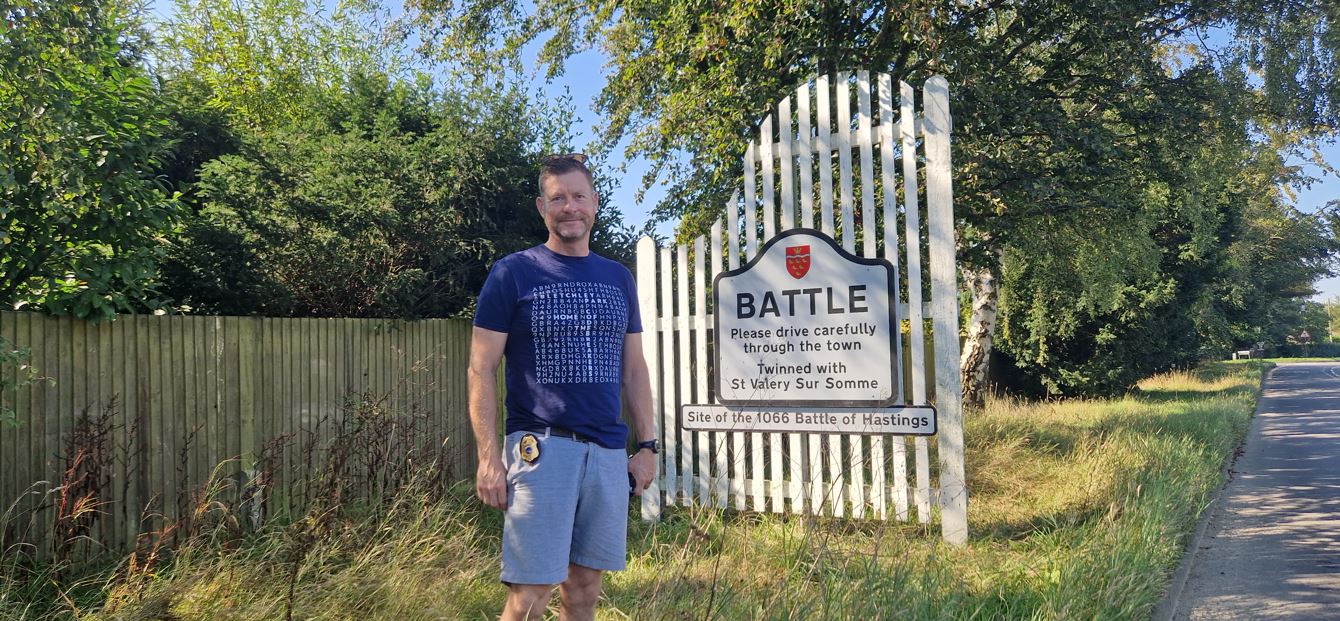
Death of King Harold
As the picture on Battle
Detective Tom's t-shirt shows,
popular believe is that King
Harold died from an arrow in his
eye. The first mention of an
arrow in his eye was by a monk,
Amatus of Montecassino, who in
Italy in the 1080’s wrote a
history of the Normans.
Historians today believe he
probably made it up. None of
those who fought on the actual
battlefield made mention of it.
Even the Bayeux Tapestry
originally did not depict an
arrow in Harold’s eye.
Contemporary evidence shows that
this was added in a 19th Century
restoration.
|
|
(click to
enlarge)
_small.JPG)
_small.JPG)
The myth of a
Norman arrow as cause of death
for King Harold
Note Battle Detective Tom in
center image assuming the
posture of the soldier in the
Bayeux Tapestry who presumably
was about to throw a javelin in
the original embroidery. |
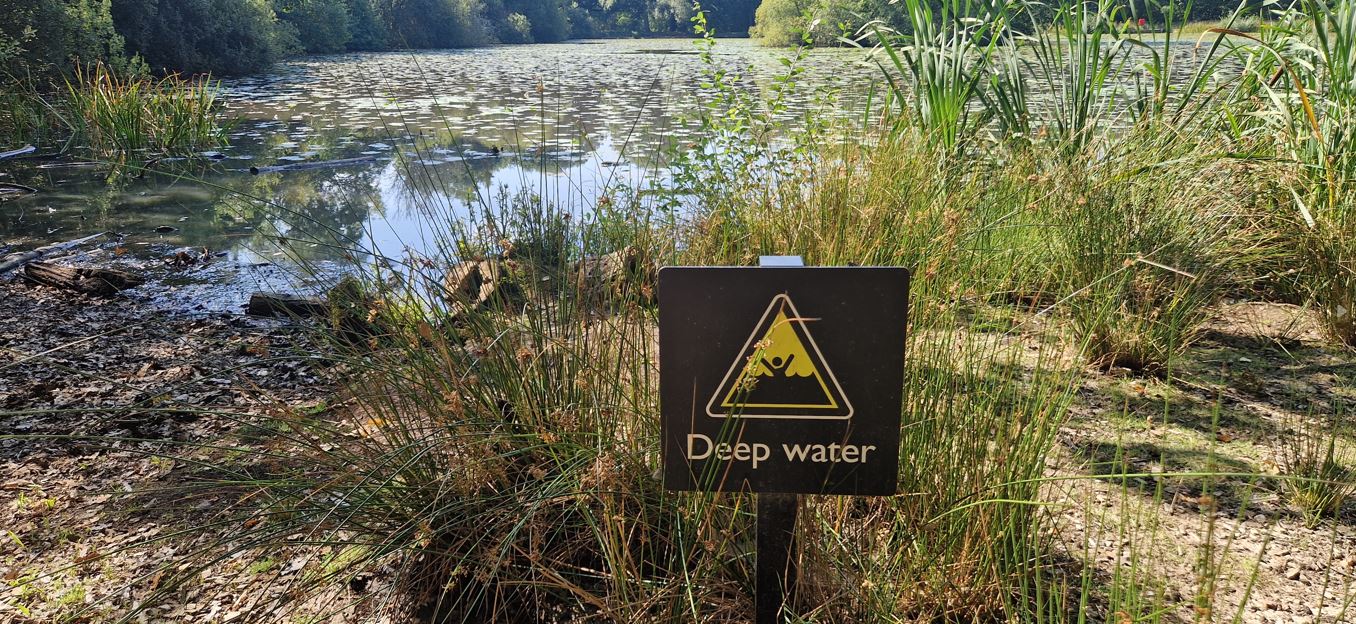
Location of the Battle of
Hastings
The battle took place in a field
7 miles northwest of the city
Hastings. That spot grew, after
being founded as the
commemorative Battle Abbey in
1095, into the appropriately
name town of Battle between two
hills – Caldbec Hill to the
north and Telham Hill to the
south. The area was heavily
wooded, with a marsh nearby.
The name traditionally given to
the battle is unusual – there
were several settlements much
closer to the battlefield than
Hastings. The Anglo-Saxon
Chronicle called it the battle
"at the hoary apple tree".
Within 40 years, the battle was
described by the Anglo-Norman
chronicler Orderic Vitalis as
"Senlac", a Norman-French
adaptation of the Old English
word "Sandlacu", which means
"sandy water".
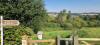
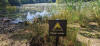
|
|
(click to
enlarge)
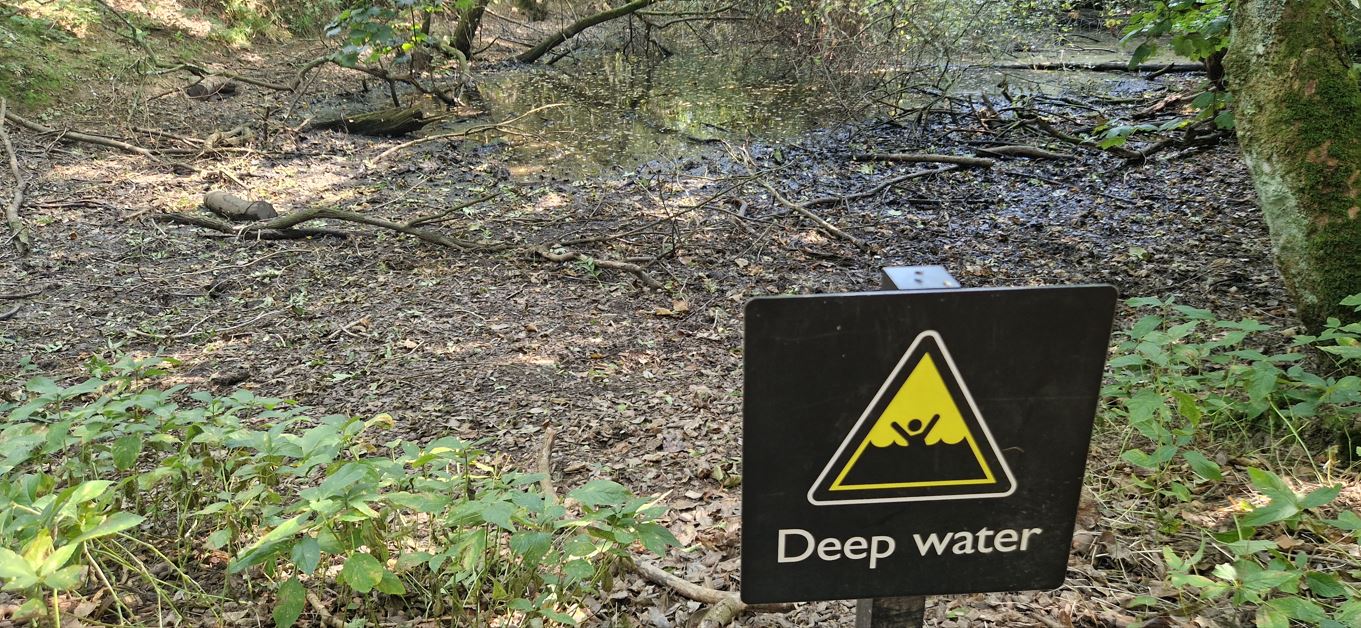
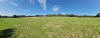
Marshy wetlands ("sandy water /
Senlac") in the south-western
area of the battlefield.
Photo taken on 6SEP2023 when the
weather had been dry for some
time in England. |
Battle Abbey
At the site of the battle,
Battle Abbey was founded by
William. According to
12th-century sources, William
made a vow to construct the
abbey, and the high altar of the
church was placed at the site
where Harold had died.
The topography of the
battlefield has been changed by
construction work for the abbey
and the slope defended by the
English today is less steep than
it was at the time of the
battle.
|
|
(click to
enlarge)
_small.JPG)
_small.JPG)
_small.JPG)
_small.JPG)
The abbey on
the location where King Harold
was killed. |
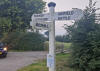
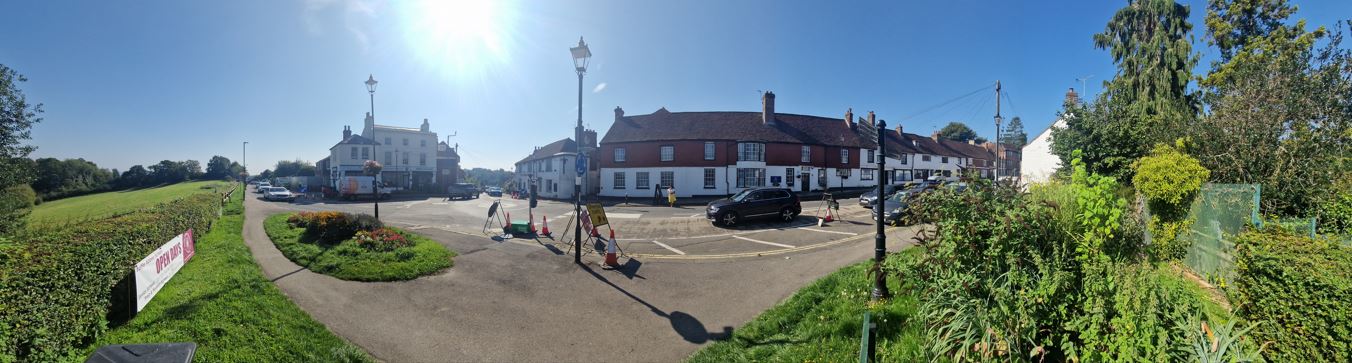
|
Roudabout at Marley Lane
An episode of the Time Team
program claims, in short,
that aerial technology called
LIDAR to map the terrain proves
that the traditional battlefield
would have been too boggy for
William's Norman cavalry. The
program makers had military
analysts study the data to see
where Harold, a skilled
commander, would most likely
have mounted his defense against
William's invading army.
They identify the only ideal
battlefield. It seems Harold's
fearsome Saxon shield wall
straddled a narrow strategic
pass that is on today's A2100.
|
|
(click to
enlarge)
_small.JPG)
_small.JPG)
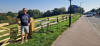
The roundabout
on Marley Lane and Upper Lake
(which turns into High Street in
the town of Battle)
and Lower Lake (the A2100 coming
in from the south).
Behind a wooden gate on the
north side of the traffic circle
a footpath leads to the
alternative site of the battle. |
This agency does not doubt this
location as the site of the
battle because of the
unfavorable site for
construction of an abbey. There
is no water source nearby and
there would be sites for
construction of structure of
this size in the vicinity that
are much more suitable. It shows
that the abbey had to be
constructed, taking obstructing
aspects of the site for granted,
where it is today.
Also take into consideration
that where fourteen thousand men
clash, it cannot be ruled out
that the battlefield was a bit
larger than the lawn below the
abbey today. Sporadic
skirmishes may have also
taken place in the general area
of the Marley Lane roundabout. |
|
(click to
enlarge)
No doubt. |
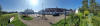
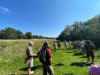
Visiting the battlefield
This agency visited the location
of the Battle of Hasting on
6SEP2023.Interestingly the
tour guide of the English
Heritage charity which owns the
Hastings battlefield, explained
us that contrary to older
believes it is now accepted that
the main Norman assault
direction was a more south-east
to north-west approach. This way
the Norman cavalry avoided the
marshy south-western section of
the battlefield. |
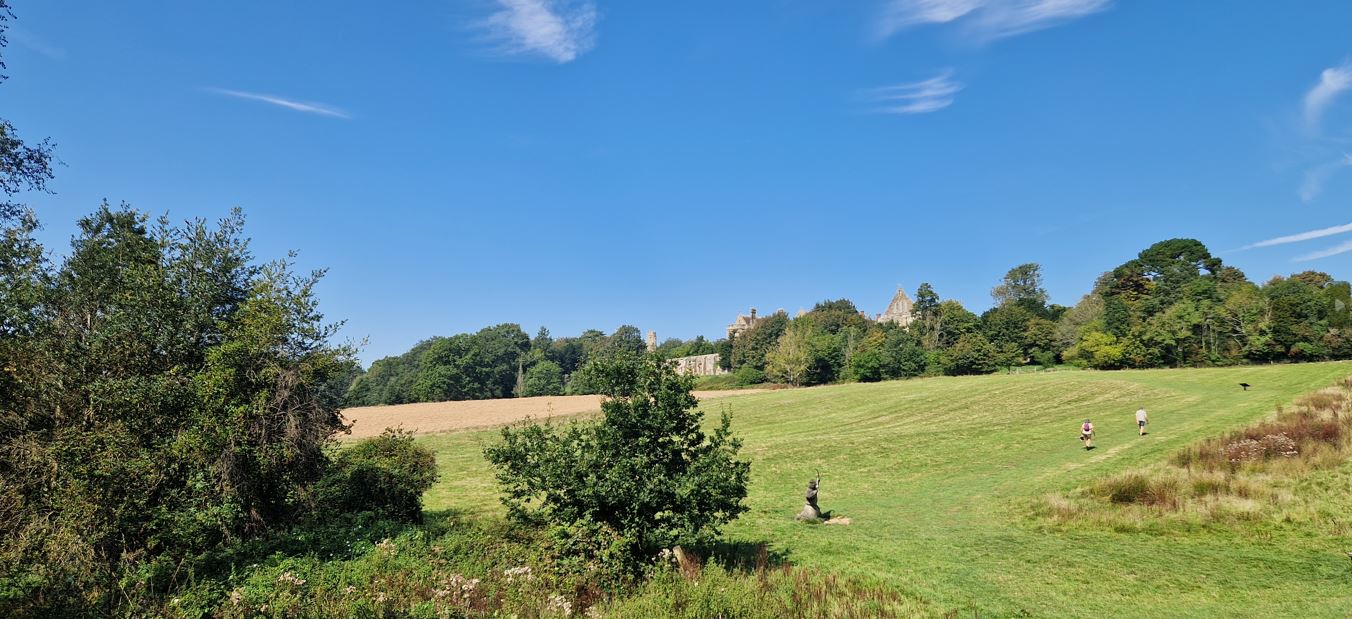
|
(click to
enlarge)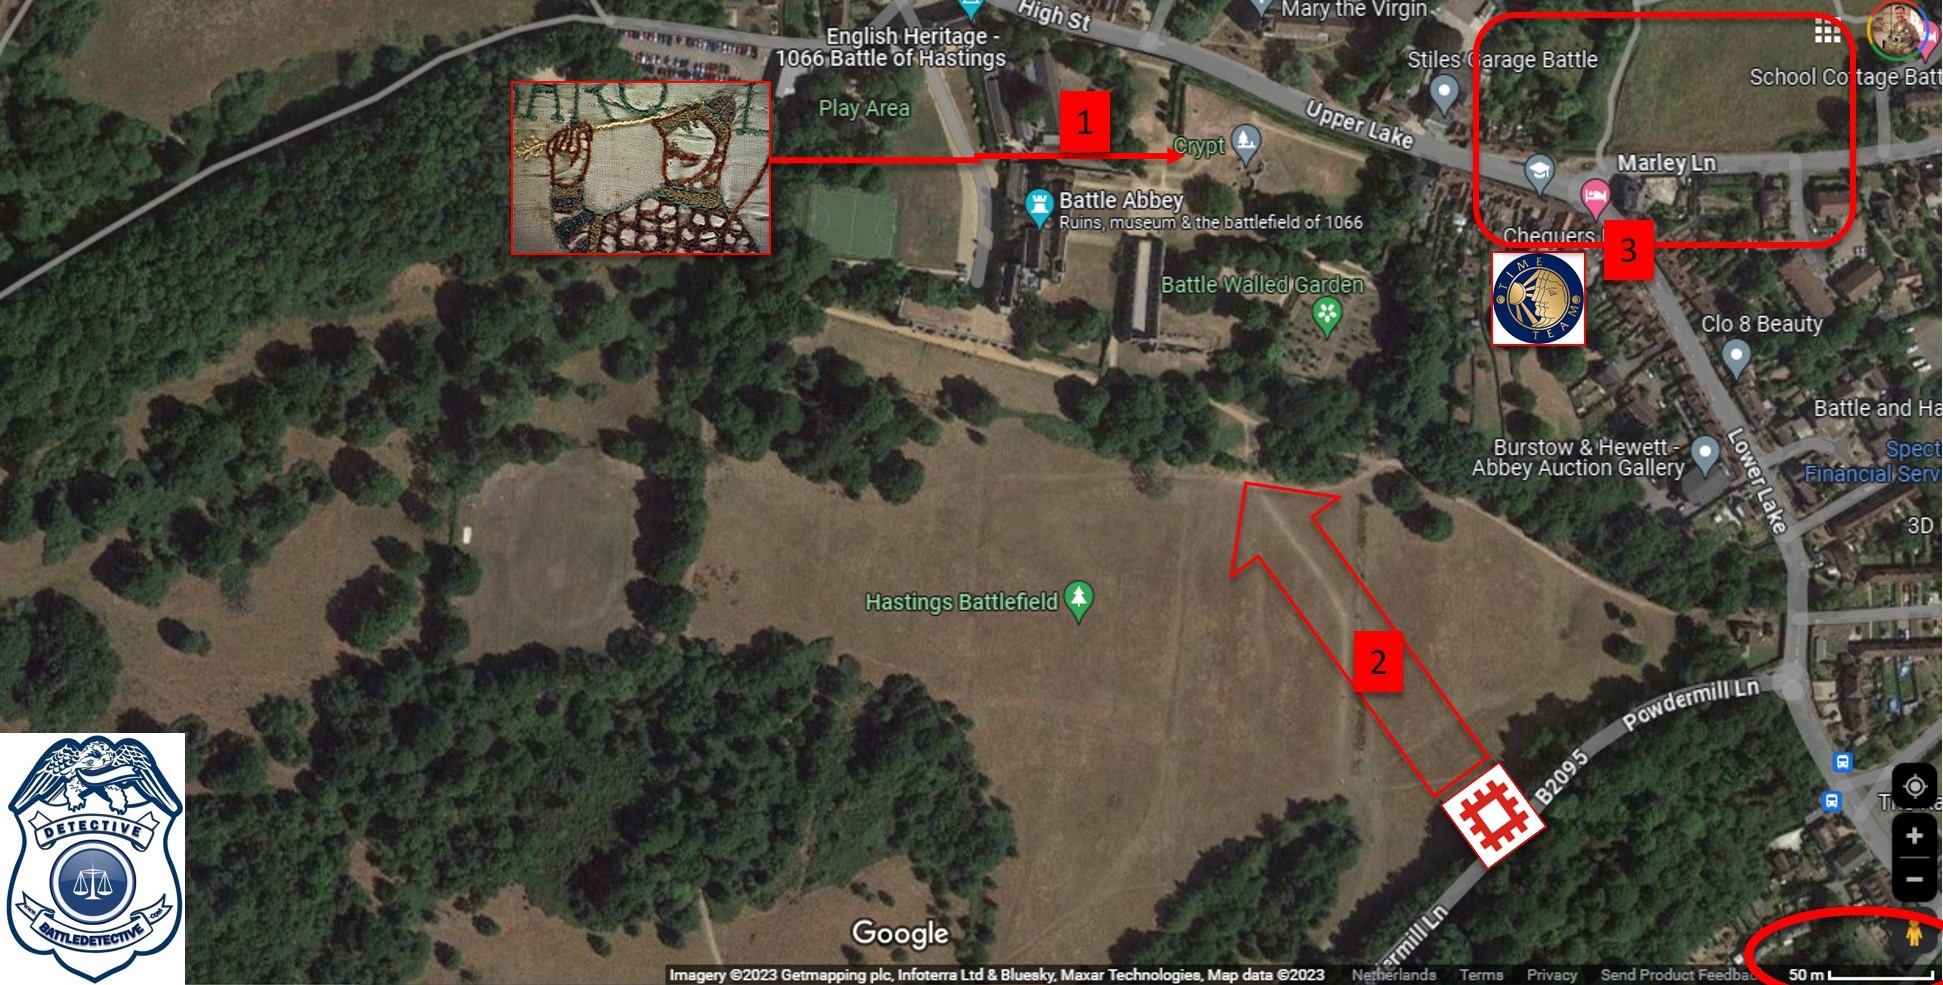
1) Location where King Harold
fell according to William who
had the alter placed on that
spot
2) Direction of Norman assault
now accepted by English Heritage
3) The battlefield according the
Time Team program |
|
(click to
enlarge)
 |
On
the road from Pevensy to
Battle. |
 |
Entering the town of
Battle. |
_small.JPG) |
Path south of Battle
Abbey where the shield
wall of the Anglo-Saxons
was. |
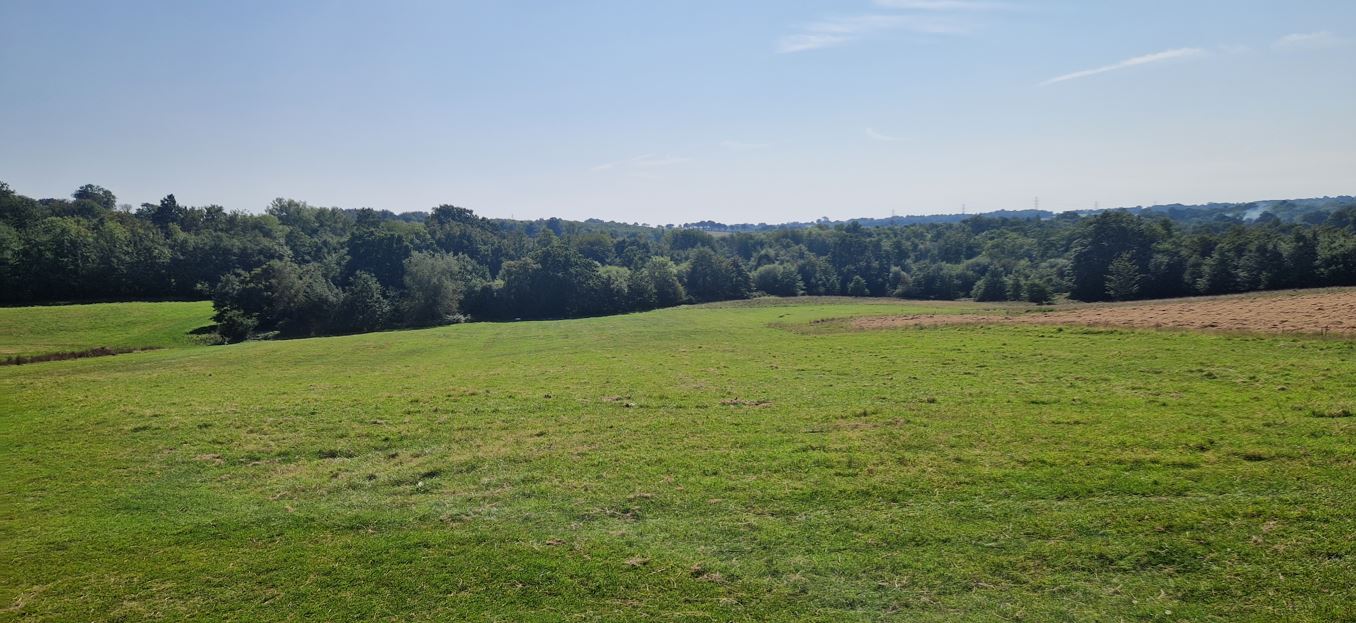
_small.JPG) _small.JPG) |
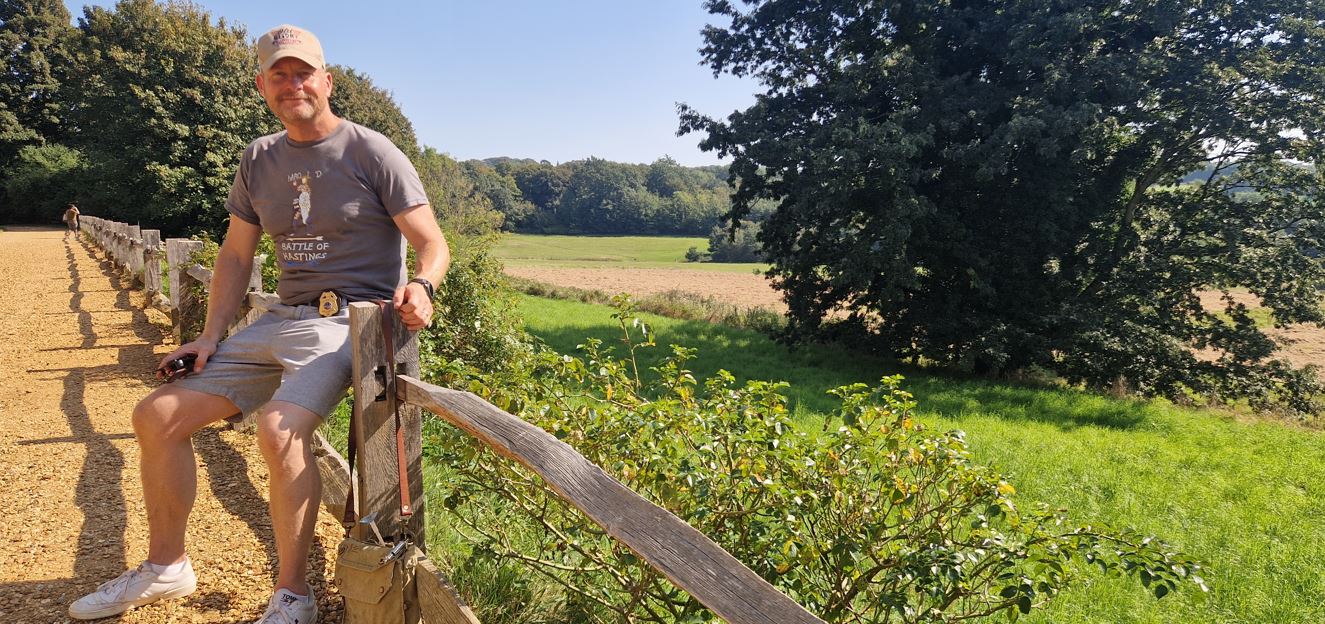
West flank of the
battlefield looking in
eastern direction. |
_small.JPG) |
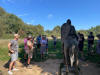
Wooden statues giving an
impression of what the
uphill battle for the
Norman infantry would
have looked like. |
 |
Marshy ponds on the
south-western edge of
the battlefield. |
 |
Wooden statue showing a
Norman cavalry knight. |
 |
Center of the
battlefield; view of the
Anglo-Saxons looking in
southern direction. |
 |
Center of the
battlefield; view of the
Normans looking in
northern direction. |
 |
Wooden statue showing
the Norman use of flags
called "gonfanons" to
signal maneuvers on the
battlefield. |
 |
Eastern flank of the
battlefield. |
 |
Wooden statue showing a
Norman archer. |
_small.JPG) |
Battle Abbey. |
 |
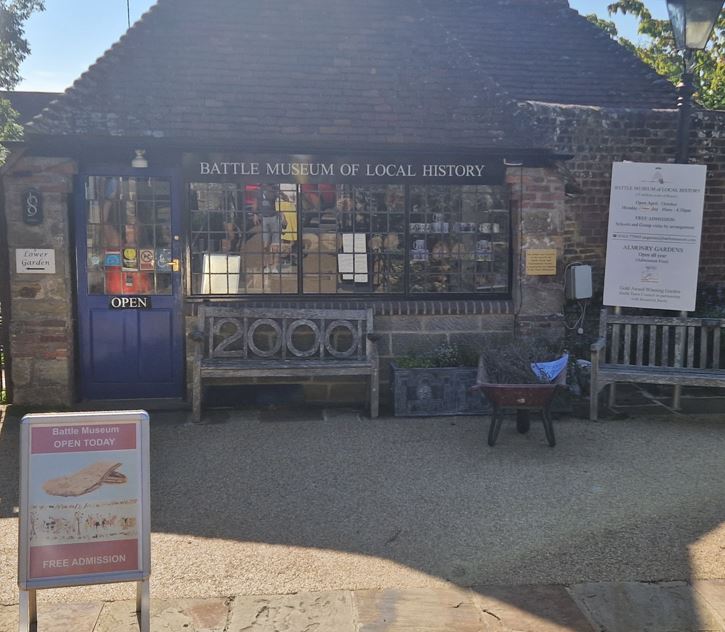
Visited the Battle
Museum of Local History
as well. |
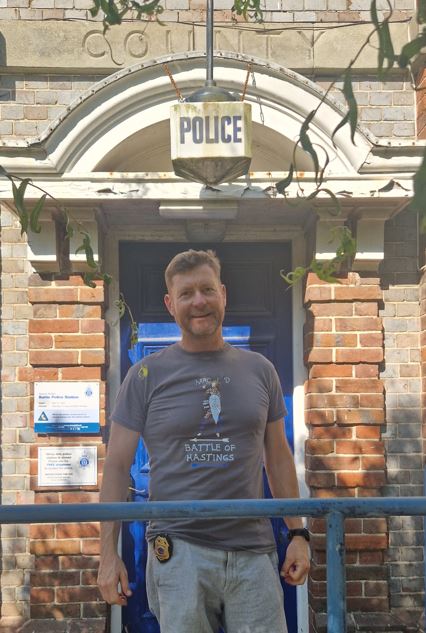
 |
Where Battle Detectives
work. |
|
|
CONCLUSION:
The course of the battle and
its outcome were determined by
superior tactics and leadership
on the part of the attacking
invaders and opportunities
missed by the defenders. To sum
these factors up: |
|
William's leadership
and tactics
• William chose to
delay his invasion,
which demoralized
Harold’s soldiers.
• William obtained a
Papal Banner which led
his soldiers to believe
that they had God’s
blessing to fight which
boosted morale.
• William chose the
location of the battle.
• William took his time
invading and ensured
that he had made all the
necessary preparations.
• William’s troops were
highly organized into
divisions with a system
of communication.
• William rode on horses
(he lost three during
the battle) and hence
had more control of his
troops and could be more
responsive. |
Harold’s Failures
• King Harold hurried to
face William. He could
have waited for between
twenty to thirty
thousand extra troops
from the South-West, but
he chose to go straight
to Hastings.
• Harold fought
alongside the Normans in
1064, and was aware of
their tactics but still
used the old Anglo-Saxon
techniques of the shield
wall.
• Harold chose to fight
on foot rather than
horseback, so it was
difficult for him to
communication with his
troops or give
orders in the battle.
|
|
|
EXHIBITS:
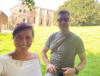
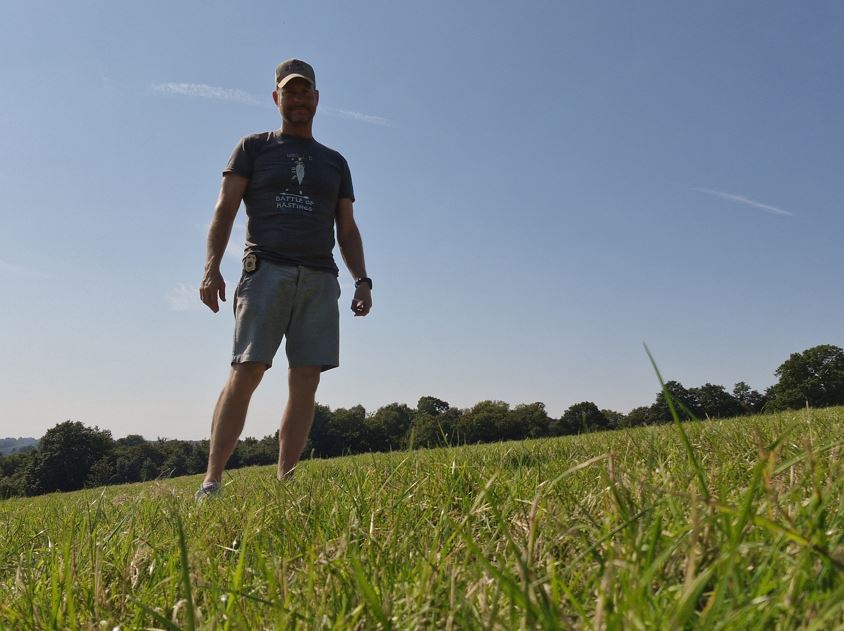
Photos taken on 6SEP2023 |
|
(click to
enlarge)
  .JPG)
Left:
In the center of the Hastings
battlefield;
Center: Wearing a replica helmet
of the time. Note contemporatry
nose too large for 'nasal';
Right: On the west flank of the
battlefield. |
|
|
|
Back to Battle Studies
 |
| |


.JPG)
.JPG)
.JPG)
.JPG)

.JPG)
.JPG)
.JPG)
.JPG)


.JPG)