|
File
No.:

Title:
Location and details of
German surrender demand at
Arnhem Bridge
Investigation made at:
Nieuwe Kade, Arnhem, The
Netherlands
51°58'30.5"N
5°54'48.3"E
Period Covered:
17–20SEP1944
Date: 18SEP2026
Case
Classification:
Location of Historic
Event
Status
of Case:
Case
Closed
|
(click to enlarge)
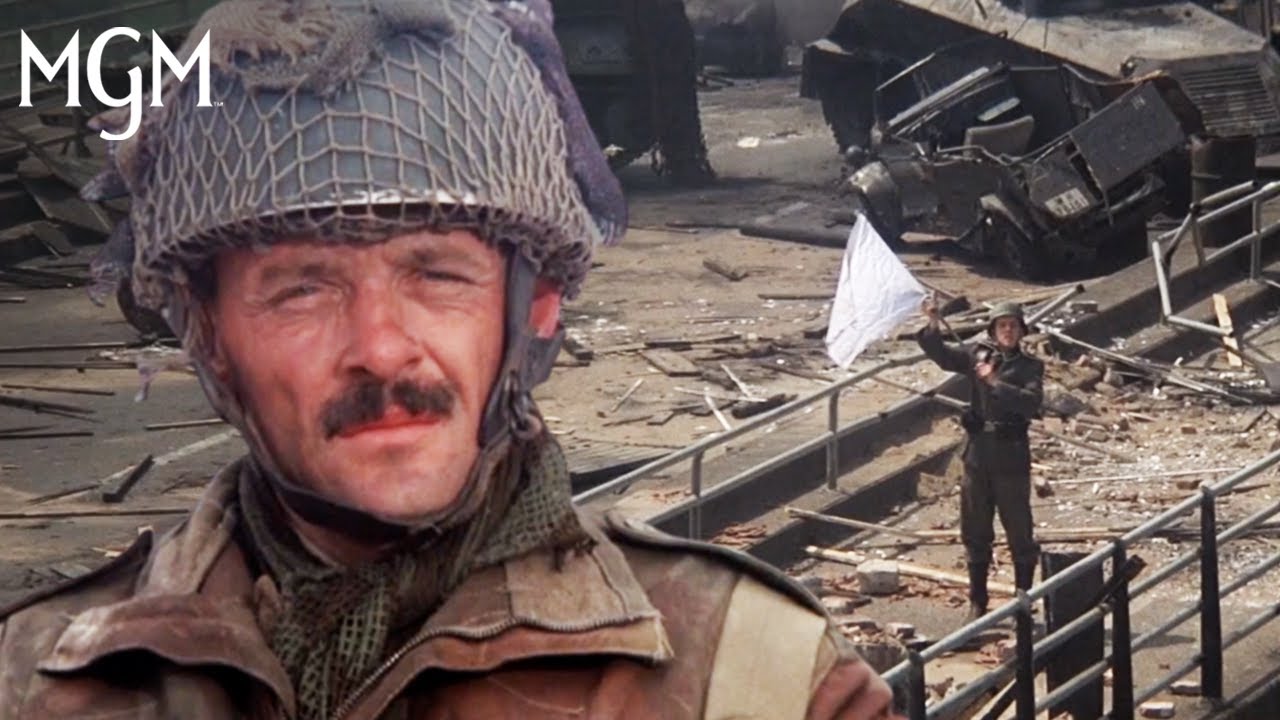
Fig.: Montage of the start
of the surrender scene in the
MGM-film A Bridge Too Far. |
REASON FOR INVESTIGATION
Battle Detective.com
investigated the location and
visited the battlefield to
establish the precise site and
circumstances of the German
demand for surrender near Arnhem
Bridge on 19 September 1944.
Although the event is widely
known through its dramatized
depiction in the 1977 MGM film A
Bridge Too Far, the real
incident involved a captured
British sapper sent back under a
flag of truce. The actual
location, the route taken, and
the physical surroundings have
largely disappeared from the
modern landscape and are not
commonly known to the general
public. This agency therefore
examined wartime photographs,
post war industrial
developments, and surviving
structures on Nieuwe Kade to
reconstruct the historical
reality of the event.
|
SYNOPSIS:
The
Hollywood version of the German
surrender demand at Arnhem
Bridge is familiar to many: a
German soldier approaches
Lieutenant-Colonel John Frost’s
embattled perimeter under a
white flag, offers terms of
surrender, and is brusquely
dismissed with the now-famous
line, “Tell him to go to hell.”
In the film, the exchange is
staged as a moment of defiant
British humor, with Maj. Carlyle
relaying Frost’s refusal while
the German emissary stands
awkwardly on the bridge ramp.
|
(click to enlarge)
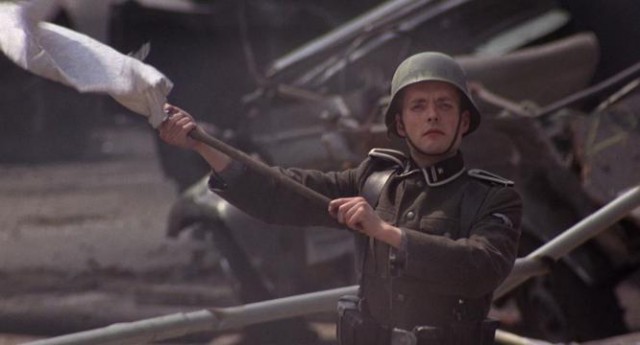
Fig.: Surrender scene in the
MGM-film A Bridge Too Far.
An
SS Oberscharführer (senior Squad
Leader) with a white flag
explains that his commander is
willing to discuss a surrender. |
Reality was considerably
more dramatic—and far more
dangerous for the messenger.
On 19 September 1944, Lance
Sergeant Stan Halliwell of the
1st Parachute Squadron, Royal
Engineers was taken prisoner by
German forces fighting around
the northern end of Arnhem
Bridge. The Germans, believing
the British position untenable,
decided to send Halliwell back
under a flag of truce to demand
Frost’s surrender. Halliwell was
escorted to the edge of the
British perimeter at Nieuwe
Kade, a street running parallel
to the Lower Rhine just east of
the bridge ramp. |
(click to enlarge)
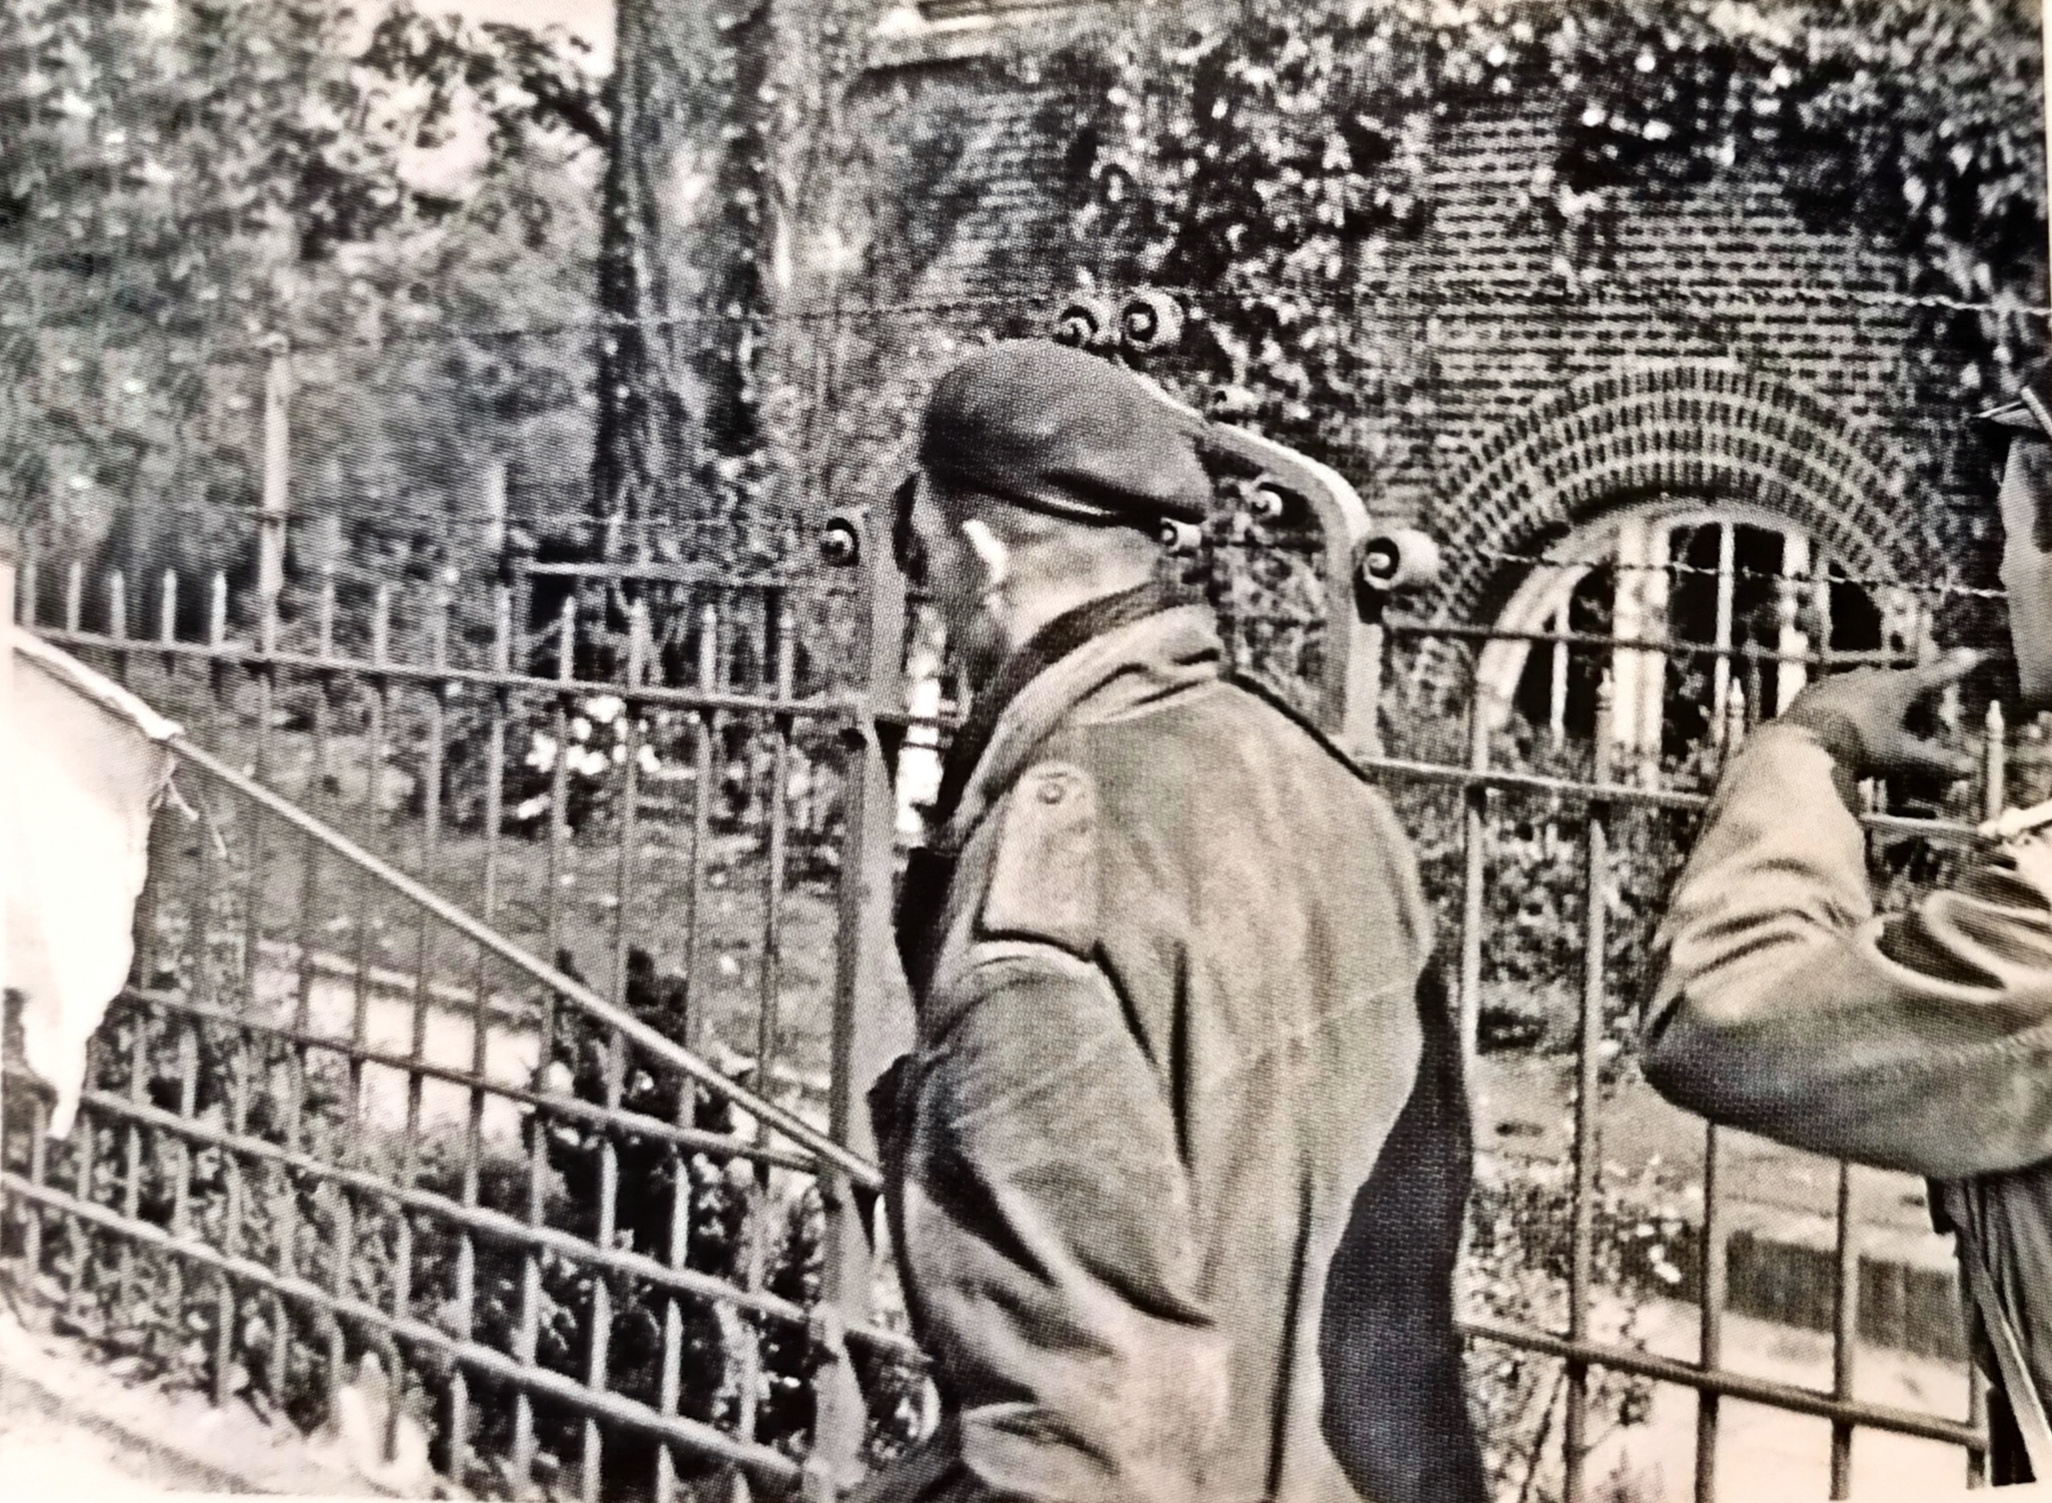
Fig.: Reality: Lance
Sergeant Stan Halliwell is sent
back to his own lines and
appears te receive last minute
instruction from an SS officer
behind him.
|
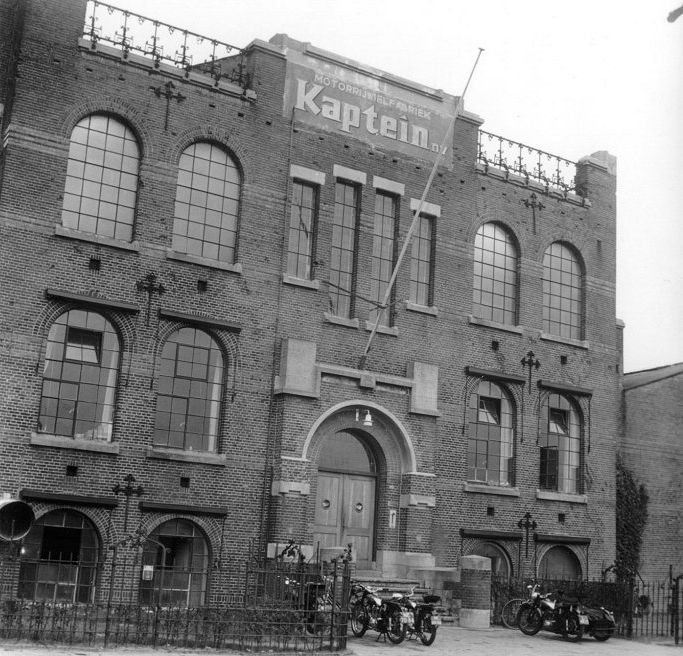
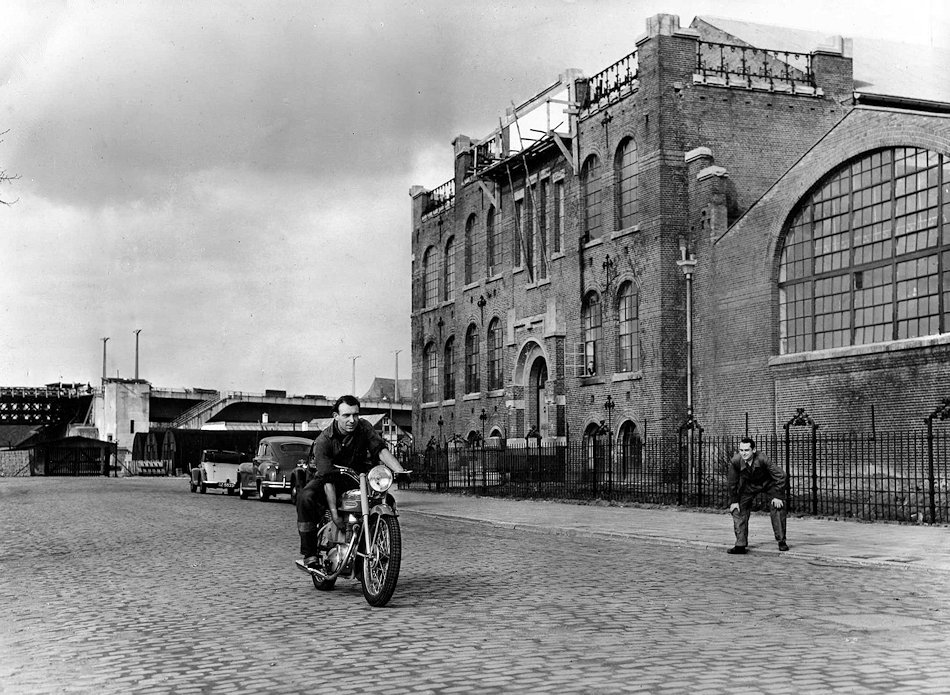
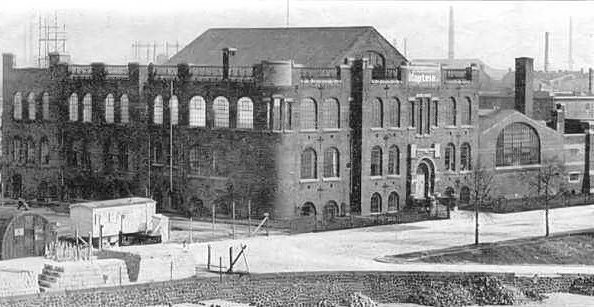
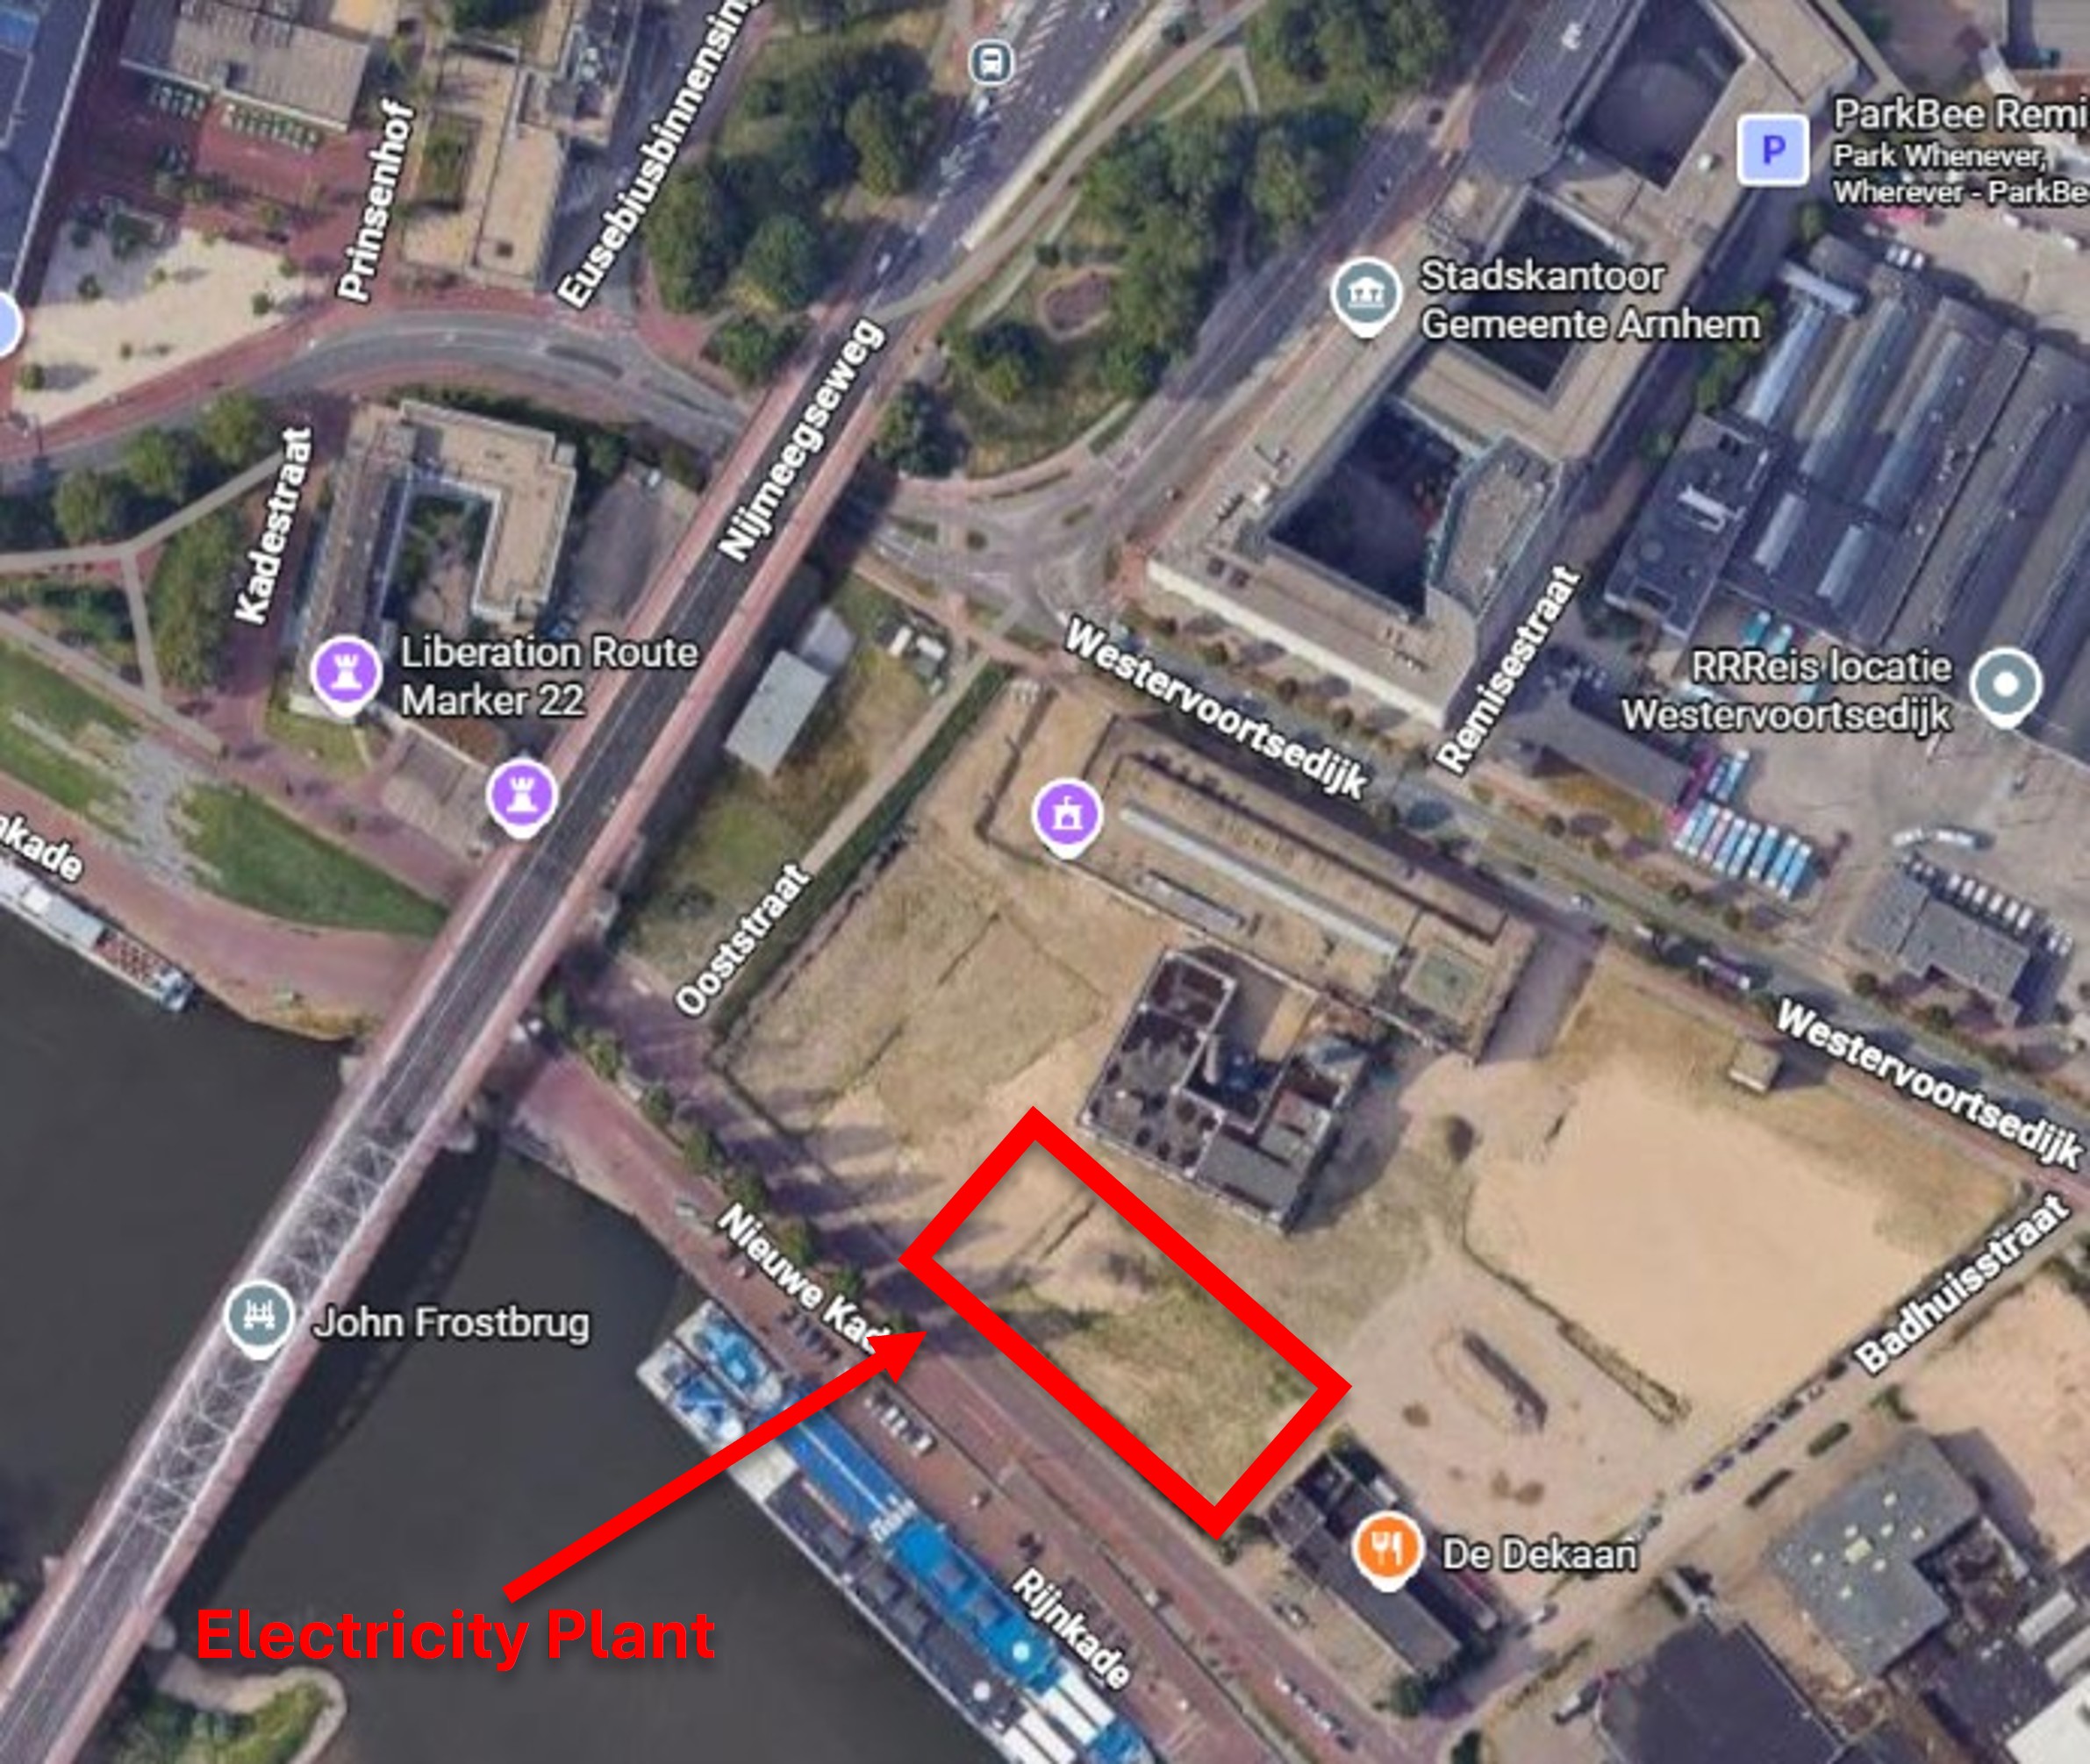
The location where Halliwell was
photographed by German
Kriegsberichter Tillmann stood
directly in front of the
Electriciteitscentrale, Arnhem’s
pre war power station. The
building had already suffered
damage during the fighting.
After the war it became the
Kapitein moped factory, before
being demolished in 1954. Today,
only the original building of
the Jospé postcard factory
survives on Nieuwe Kade. By
comparing post war photographs
of the Kapitein factory with the
wartime image taken by Tillmann,
this agency determined the
precise corner where Halliwell
stood before beginning his
hazardous walk back toward
Frost’s headquarters.
|
(click to enlarge)
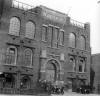
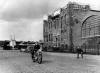
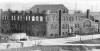
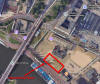
Fig: comparisson of post war
photographs of the Kapitein
factory
with the wartime
photo by Tillmann to determine
the precise location of the
image.
|
As Halliwell advanced under the
white flag, British airborne
troops—unaware of his
identity—mistakenly opened fire.
Forced to sprint forward, he
shouted repeatedly not to shoot.
The 18 September 1944 oblique
aerial photograph of Arnhem
Bridge, showing German wreckages
strewn across the roadway,
allows reconstruction of the
route Halliwell had to take:
from the corner of the damaged
Electriciteitscentrale, across
the open ground of Nieuwe Kade,
then up the western side of the
bridge ramp toward the buildings
where Frost’s 2nd Battalion had
established its defensive
headquarters.
Upon reaching
Frost, Halliwell delivered the
German demand for surrender.
Frost rejected it immediately
and instructed him to "go
back and tell them to go to hell."
Halliwell wisely did not do
this.
|
(click to enlarge)
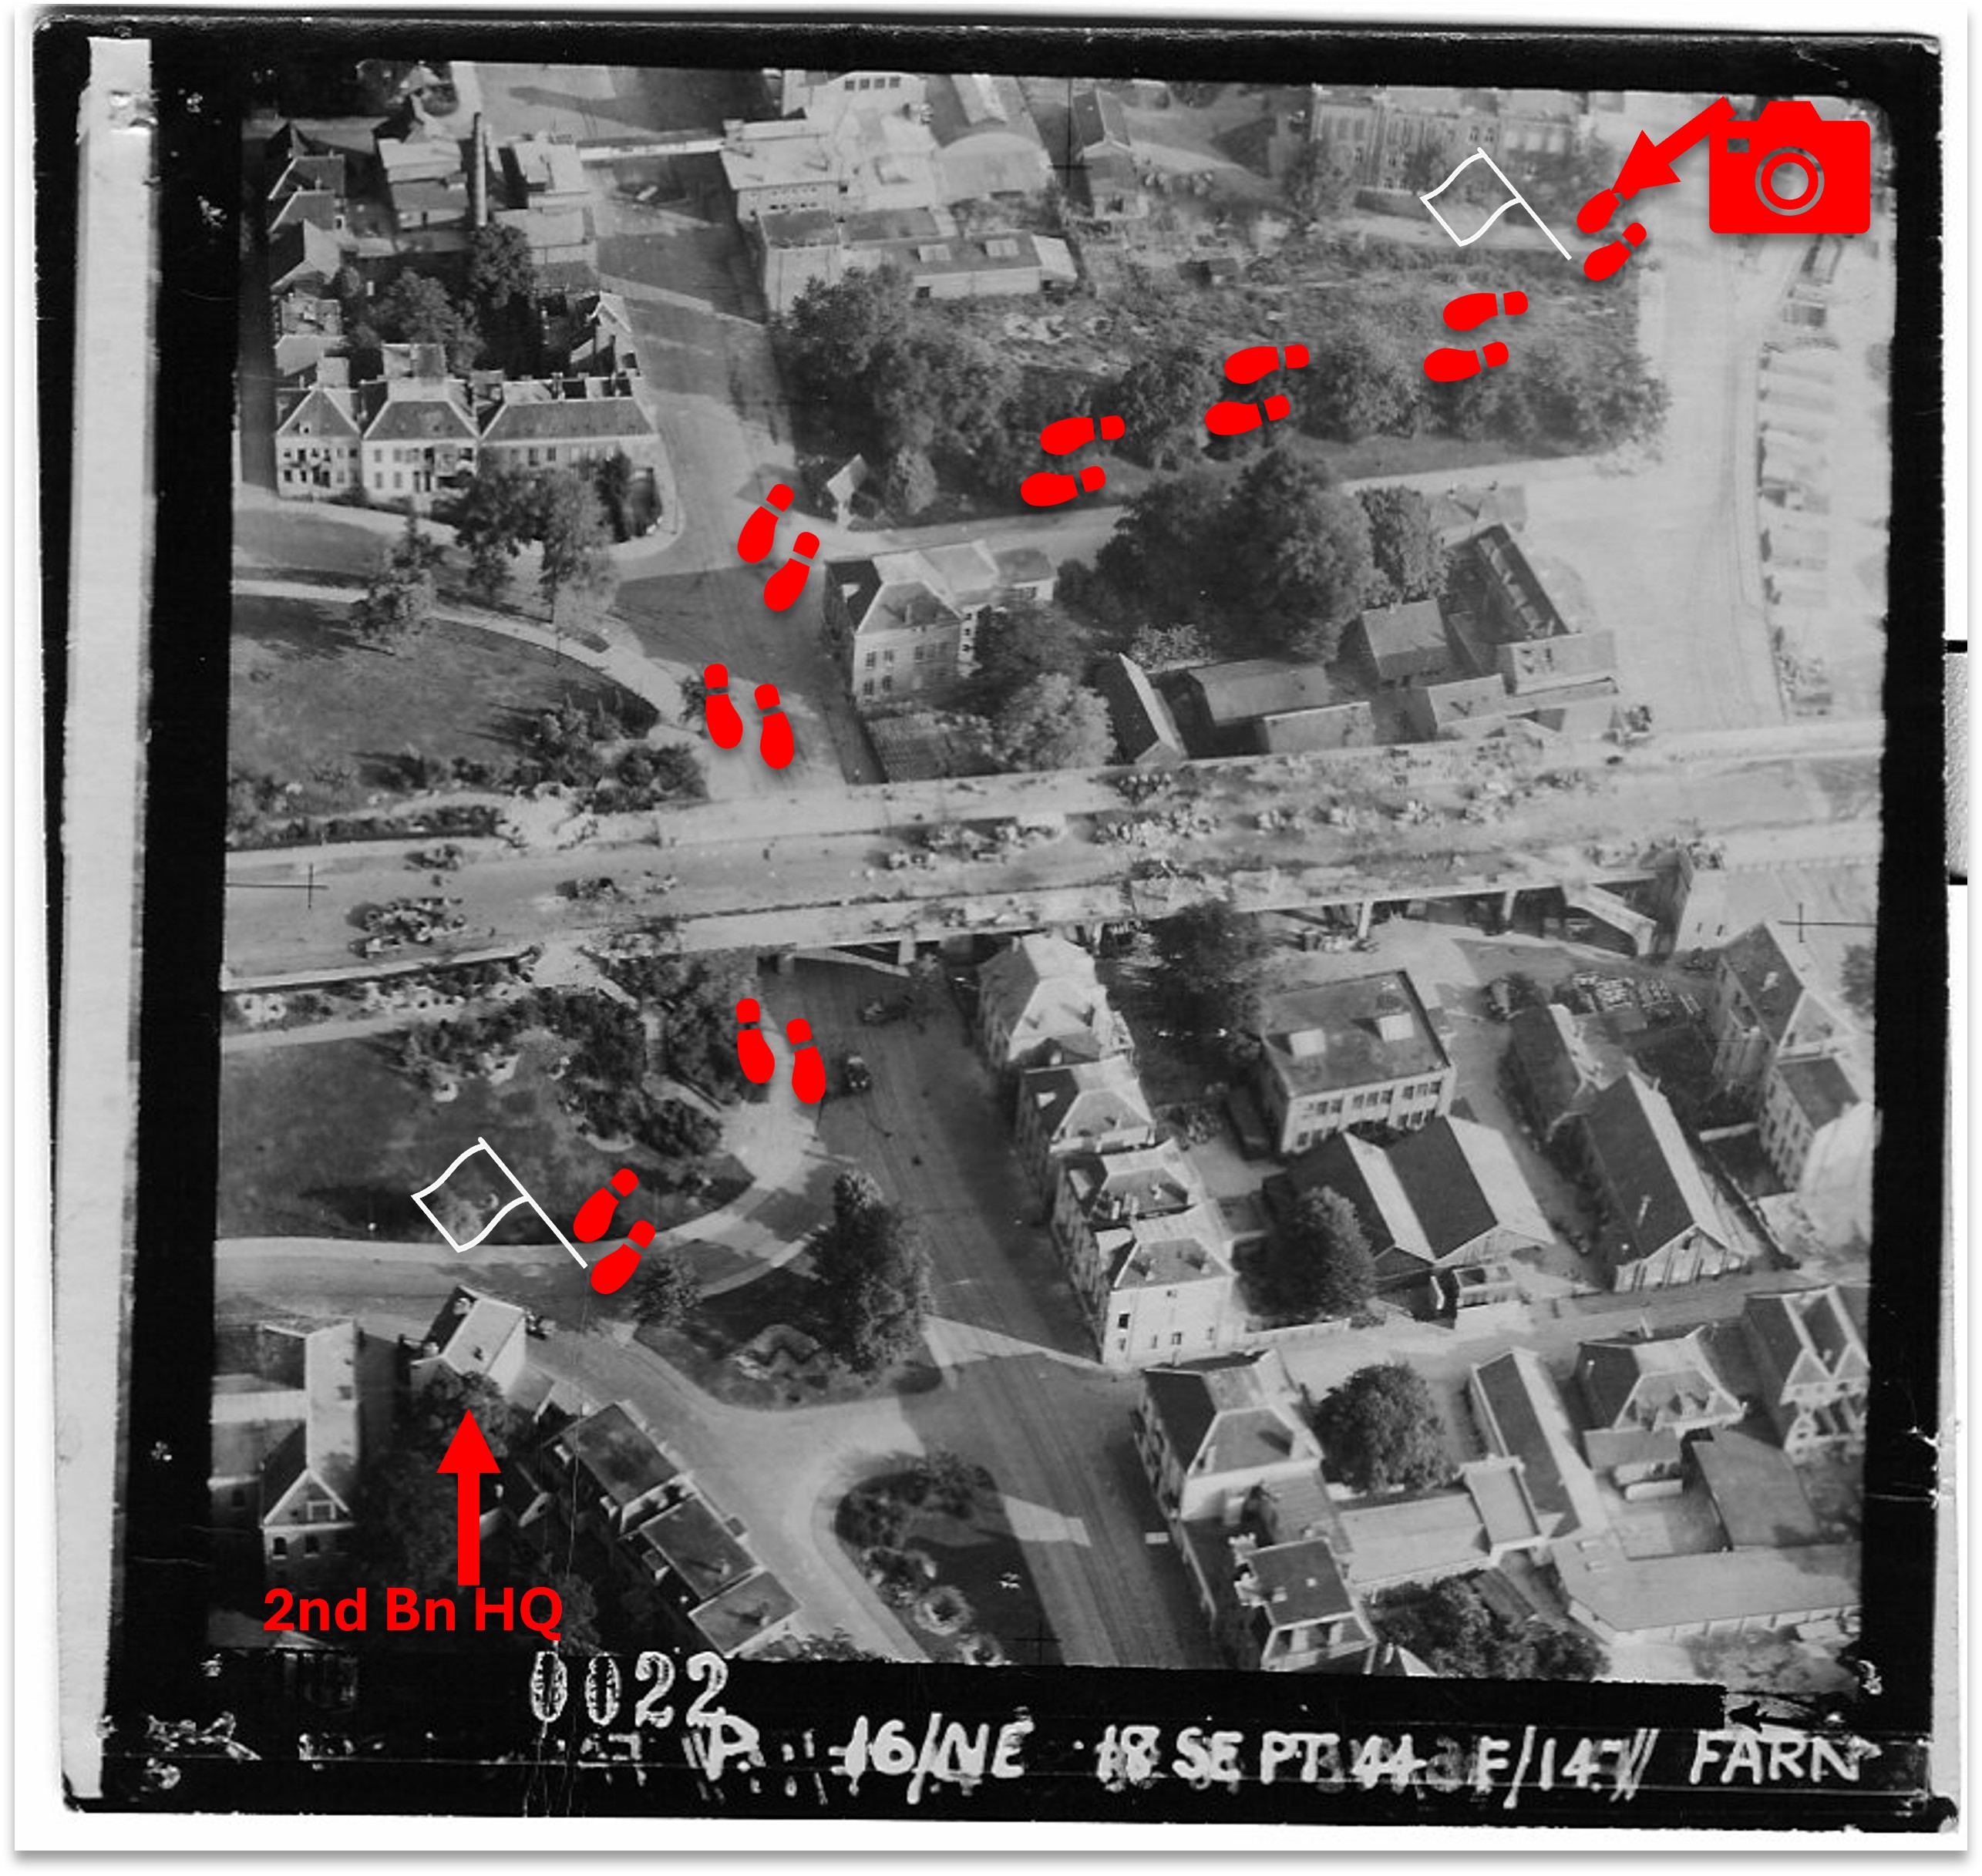
Fig.: Oblique aerial photo
of the northern ramp of the
Arnhem road bridge showing the
wreckages of the failed attack
by the 9th SS on 18SEP1944.
In red is the (most likely)
route Halliwell took to move
from the corner of the
Electricity Plant
to Lt-Col
Frost's battalion HQ. |
The moment of his
departure—captured by
Tillmann—remains one of the most
striking images of the battle: a
lone British sapper walking away
under truce, framed by the
industrial buildings of Nieuwe
Kade and the smoke of the
ongoing fight for Arnhem Bridge. |
(click to enlarge)
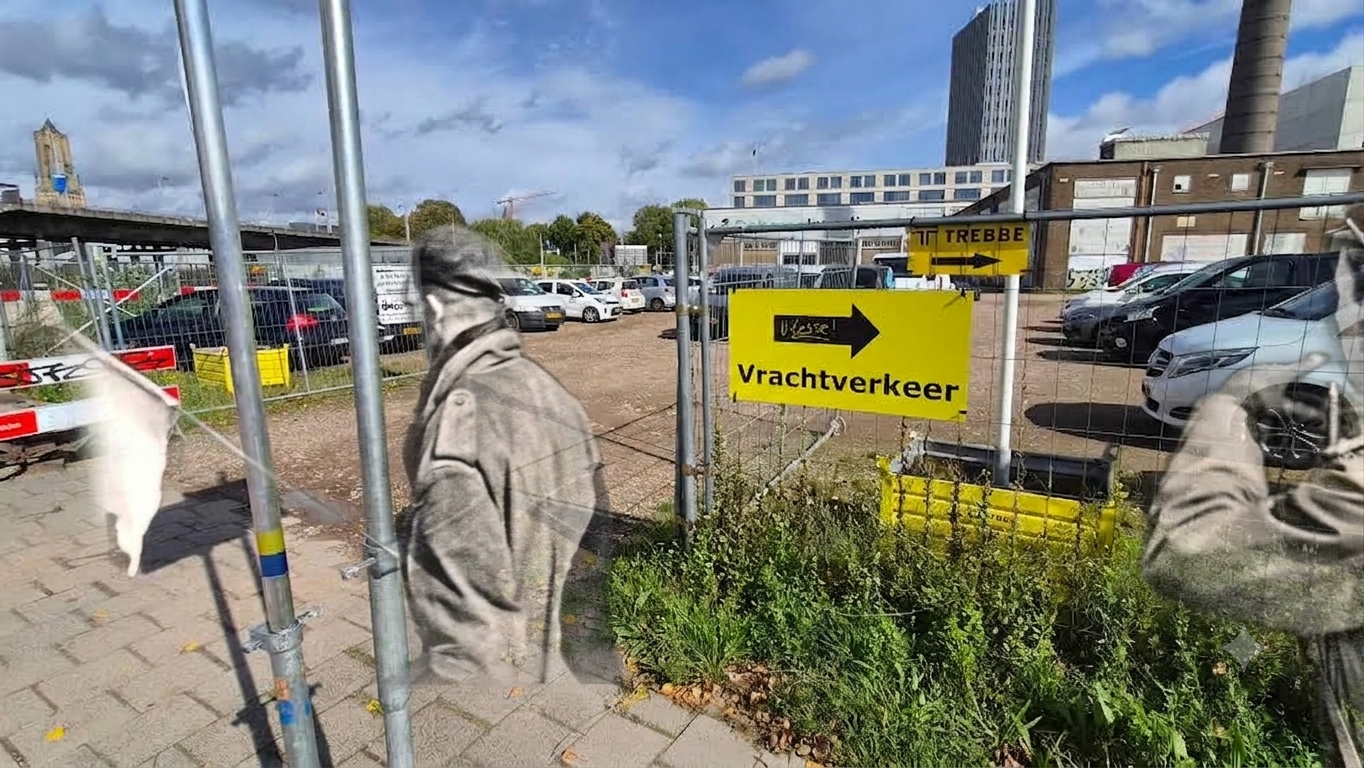
Fig: "Ghost photo" of Lance
Sergeant Halliwel and his white
flag and SS captor
on the
location where he was
photgraphed 82 years earlier.
|
|
CONCLUSION:
The real surrender demand at
Arnhem Bridge differed
significantly from its Hollywood
portrayal. Rather than a staged
negotiation on the bridge ramp,
the event involved a captured
British sapper sent back under
duress from the corner of the
Electriciteitscentrale on Nieuwe
Kade. His route toward Frost’s
headquarters can be
reconstructed from aerial
photographs and the known
British defensive positions. The
power station itself no longer
exists, but the surviving Jospé
factory building provides a
fixed point from which the
original location can be
identified. The incident, though
dramatized in A Bridge Too Far,
was in reality a tense and
dangerous moment for Lance
Sergeant Halliwell, whose sprint
under friendly fire was far more
dramatic than the film suggests. |
|
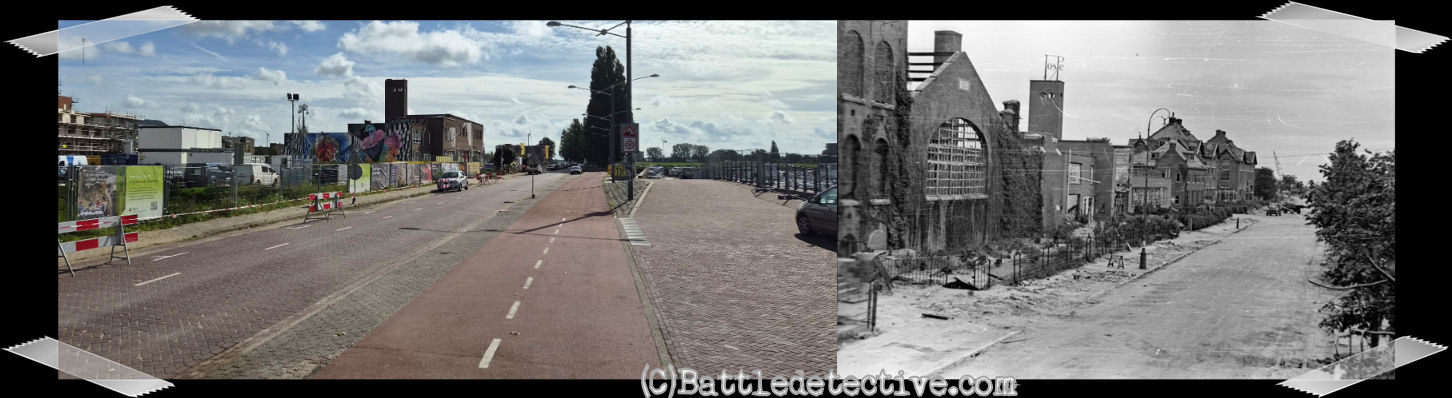
EXHIBITS:
Eighty-two years after the
battle, the area around the
bridge only leaves a few clues
as to where each building and
even streets were in 1944. |
|
(click to enlarge)
 |
|
Back to Battle Studies
 |
| |